
 |
 |
 |
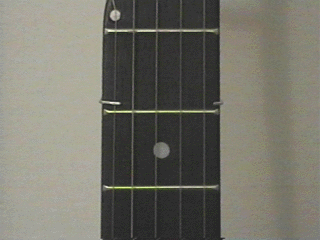
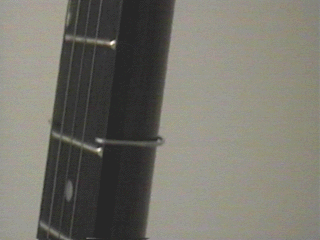
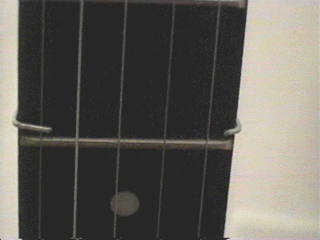
| Front view of capo | capo from 1st string side | |
 |
 |
 |
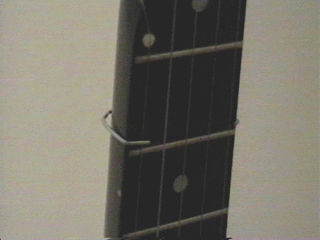
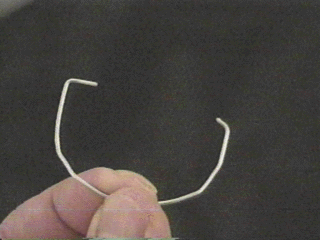
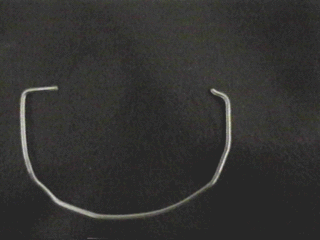
| rear view of capo | capo, 5th string side | capo, front, closeup |
 |
 |
 |
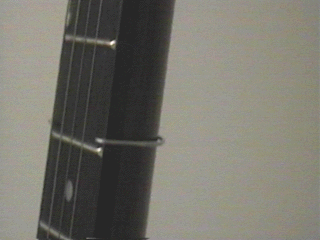
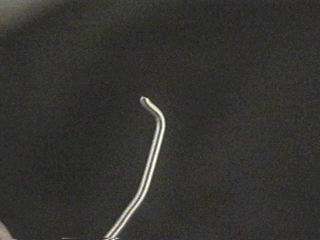
| capo, closeup showing upturn of 1st string end | capo | capo, showing upturn at 1st string end |
I spent about 10 minutes the other day reconstructing a home-made
5th-string capo that I had originally made back in the 60's.

It's a little hard to describe, but with the above pictures it should be
reasonably understandable.


I made it from nothing more than a paper clip!! (The larger of the 2
common sizes) -- I first straightened it by hand, then, using a pair of
needle-nose pliers, I bent one end at a 90 degree angle -- just long
enough to come over the edge of the neck and cover the 5th string.

Then, I (by hand) bent the rest of the clip to approximate the curve of
the back of the neck, leaving the other end sticking up way beyond the
fingerboard by the 1st string.  Note that the wire is not completely in
contact with the neck all the way around.  This allows for some springyness,
which is what holds the capo in place.

I pressed the wire in as tight as possible, to conform to the shape of
the neck, and then bent the other end (1st-string side) over the edge of the
fingerboard.

Then, using the needle-nose pliers again, I bent that end up very (very
very) slightly, just a tiny bit in from the edge, (in the picture, you can see
just the hint of an upturn) and then cut the wire right at that bend.

This end is very short and the upward lift is almost undetectable.  The
end has to be small enough so that it doesn't interfere with playing the
1st string.  The purpose of the slight upward bend is to facilitate
sliding it around the neck without scratching.


I filed both ends smooth and slightly rounded.

Bill Palmer suggested covering the wire with a piece of "spaghetti" insulation
to prevent it from indenting the back of the neck.  As I recall, my original
capo (~35 years ago) did indent the back of the neck slightly if left in place
for long periods of time (days or weeks).  This should eliminate the problem.


To use this capo, all I do is place the flat end over the 5th string and
slide the other end around the neck, catching the tiny end over the
1st-string edge of the fingerboard.


It took a little experimenting to get the shape and length right (it
actually took me 2 paper clips), but even with all that waste it's still
rather inexpensive.  The total time involved, including going down to the
basement to find my pliers and a file, was less than 10 minutes.